Learn How to Permanently Remove Facial Hair

Facial hair can be a source of frustration for many individuals, leading them to seek permanent solutions for its removal. While various temporary methods exist, such as shaving, waxing, and threading, these techniques offer only temporary results and may require frequent maintenance. For those looking for a more permanent solution, several methods can effectively remove facial hair. In this comprehensive guide, we’ll explore different permanent hair removal options and provide insights into their effectiveness and safety.

Achieving Smooth Skin

Laser Hair Removal

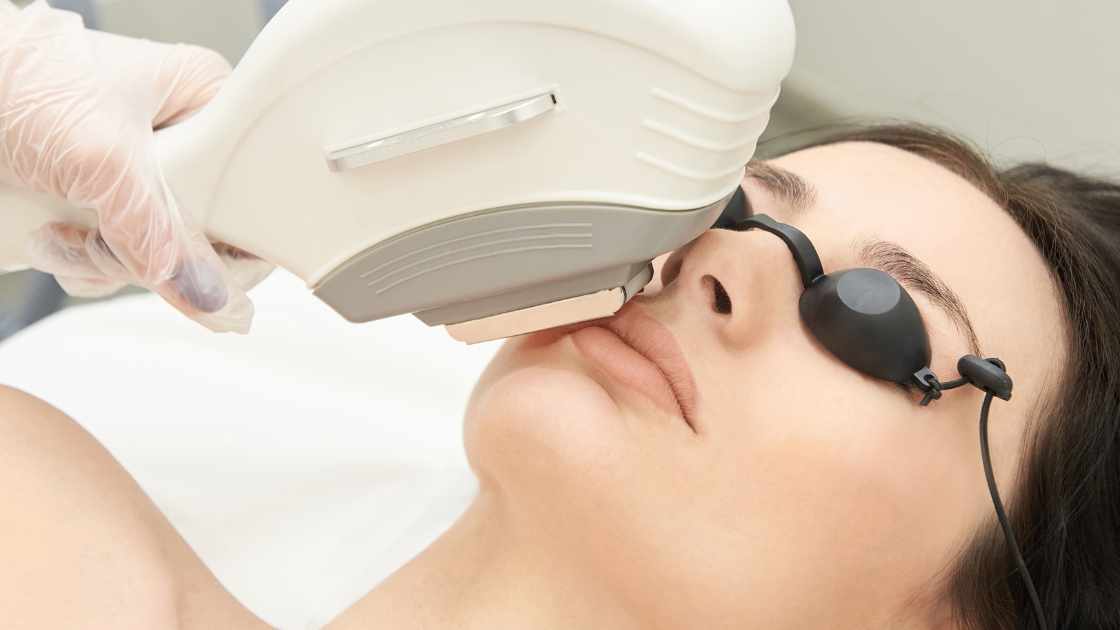
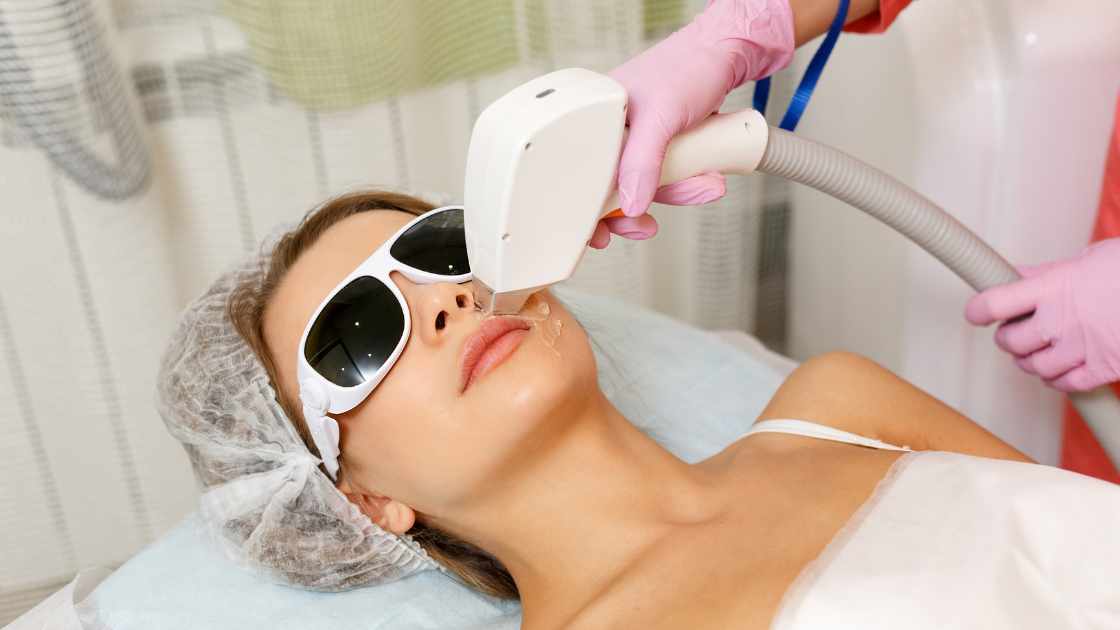
Laser hair removal is a popular and effective method for permanently reducing facial hair. This procedure involves using a concentrated beam of light to target and destroy the hair follicles, inhibiting future hair growth. Laser hair removal is safe for most skin types and can be performed on various areas of the face, including the upper lip, chin, and cheeks.

During the procedure, a trained technician will administer the laser pulses to the treatment area, typically causing minimal discomfort. Multiple sessions are usually required to achieve optimal results, as hair grows in different stages and the laser is most effective during the active growth phase. While laser hair removal offers long-lasting results, it may not completely eliminate all hair, and occasional maintenance sessions may be necessary.

Electrolysis

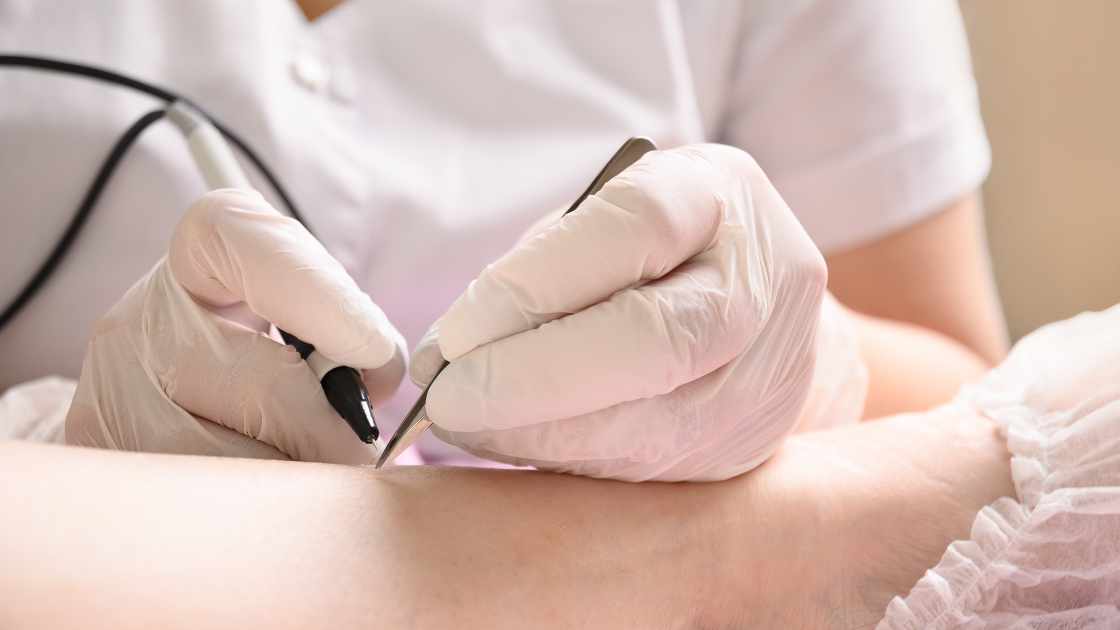
Electrolysis is another permanent hair removal technique that works by destroying the hair follicles using a small electric current. Unlike laser hair removal, which targets multiple follicles simultaneously, electrolysis treats each follicle individually, making it suitable for small, precise areas like the eyebrows or upper lip.

During an electrolysis session, a fine probe is inserted into the hair follicle, and a mild electrical current is applied to destroy the follicle’s growth center. Over time, repeated treatments result in permanent hair removal. While electrolysis is highly effective, it can be time-consuming and may cause discomfort during the procedure. However, advancements in technology have made electrolysis more comfortable and efficient than ever before.

Prescription Medications

For individuals with hormonal imbalances or medical conditions contributing to excess facial hair growth, prescription medications may offer a solution. Medications such as oral contraceptives, anti-androgens, or topical creams containing eflornithine hydrochloride can help reduce facial hair growth by regulating hormone levels or inhibiting hair follicle activity.

Before considering prescription medications for facial hair removal, it’s essential to consult with a healthcare professional to determine the underlying cause of the excessive hair growth and evaluate the potential risks and benefits of treatment. Additionally, prescription medications may take time to produce noticeable results and may not be suitable for everyone.

FAQs

Is laser hair removal a permanent solution for facial hair?

Yes, laser hair removal is a permanent solution for reducing facial hair. This procedure targets hair follicles with concentrated light, inhibiting future hair growth. While multiple sessions may be required for optimal results, many individuals experience long-lasting hair reduction.

What is electrolysis, and does it permanently remove facial hair?

Electrolysis is a method of permanently removing facial hair by destroying hair follicles with a small electric current. Unlike laser hair removal, which targets multiple follicles simultaneously, electrolysis treats each follicle individually. With repeated sessions, electrolysis can provide permanent hair removal results.

Can prescription medications permanently remove facial hair?

Prescription medications may help reduce facial hair growth, especially for individuals with hormonal imbalances or medical conditions contributing to excess hair growth. Medications such as oral contraceptives, anti-androgens, or topical creams can regulate hormone levels or inhibit hair follicle activity, leading to long-term hair reduction. However, it’s essential to consult with a healthcare professional to determine the most suitable treatment approach.

Final Thought

Permanently removing facial hair requires careful consideration of the available options and individual preferences. Laser hair removal and electrolysis are highly effective methods for achieving long-term hair reduction, while prescription medications may be beneficial for addressing hormonal imbalances contributing to excessive hair growth. Consulting with a qualified dermatologist or licensed practitioner can help you determine the most suitable permanent hair removal solution based on your unique needs and circumstances. With the right approach, you can achieve smooth, hair-free skin and boost your confidence for years to come.

Learn How To Remove Hair Color From Skin

Embarking on a home hair coloring adventure can be an exciting way to switch up your look, but it often comes with the pesky side effect of stained skin. Whether you’ve got a few accidental streaks on your forehead or tinted ears, fret not! There are effective ways to remove hair color from your skin without resorting to harsh measures. In this guide, we’ll explore some tried-and-true methods to help you bid farewell to those unwanted stains.

Unveiling Solutions: How to Remove Hair Color from Skin

Act Quickly

Time is of the essence when it comes to removing hair color from the skin. The sooner you tackle the stains, the easier they are to eliminate. As soon as you notice any discoloration, grab the necessary materials and start the removal process promptly.

Use Petroleum Jelly

Before applying hair color, create a barrier by applying petroleum jelly around your hairline, ears, and neck. If you’ve already stained your skin, gently rub the affected areas with a cotton ball or soft cloth soaked in petroleum jelly. The jelly helps lift the color without causing irritation. Wipe away the residue with a clean cloth.

Utilize Oil-Based Substances

Oils such as olive oil, coconut oil, or baby oil work wonders in lifting hair color stains. Apply a small amount to a cotton ball or soft cloth and gently rub the stained areas. The oil helps break down the color, making it easier to wipe away. Once you’ve removed the stain, cleanse your skin with a mild soap and water.

Baking Soda and Water Paste

Create a paste using baking soda and water, with a ratio that forms a thick consistency. Gently massage the paste onto the stained skin, allowing it to sit for a few minutes. The baking soda’s abrasive nature assists in lifting the color. Rinse off the paste with warm water, and pat your skin dry.

Lemon Juice for Stubborn Stains

For more stubborn stains, turn to the natural acidity of lemon juice. Apply fresh lemon juice to a cotton ball and gently rub the stained areas. The acid in the lemon juice helps break down the color. Be cautious if you have sensitive skin, and moisturize after the process to prevent dryness.

Commercial Hair Color Removers

If home remedies don’t provide the desired results, consider using a commercial hair color remover specifically designed for skin. These products are formulated to be gentle yet effective in removing stains. Follow the instructions on the product carefully, and always perform a patch test to ensure compatibility with your skin.

Preventative Measures for Future Coloring

To avoid future staining, consider applying a layer of barrier cream or petroleum jelly to your skin before starting the hair coloring process. This creates a protective shield, minimizing the chances of color adhering to your skin.

FAQs

What’s the quickest way to remove hair color stains from the skin?

Acting promptly is crucial. To swiftly remove hair color from your skin, use petroleum jelly or oil-based substances like olive oil or coconut oil. Apply them to the stained areas, gently rub, and wipe away with a soft cloth. This helps break down the color and facilitates easy removal.

Can household items be used to remove hair color stains from the skin?

Yes, common household items like baking soda and lemon juice can be effective. Create a paste with baking soda and water, or use lemon juice on a cotton ball to gently rub the stained areas. These natural remedies help lift the color without causing skin irritation. Remember to moisturize after the process.

Final Thought

While hair color stains on the skin can be a common hiccup during at-home coloring sessions, they are by no means permanent. With these effective and gentle methods, you can bid farewell to those unwanted hues and enjoy your freshly colored locks without any lingering traces on your skin. Remember to act promptly, use the right materials, and embrace these practical solutions for a stain-free, hassle-free coloring experience.

Does At Home Laser Hair Removal Work

Laser hair removal has become an increasingly popular method for achieving smooth, hair-free skin. Traditionally performed in professional settings, advancements in technology have brought the possibility of at-home laser hair removal devices. The burning question on many minds is, “Does at-home laser hair removal really work?”

Understanding At-Home Laser Hair Removal

At-home laser hair removal devices use the same basic principle as professional systems. They emit concentrated beams of light that target the melanin in hair follicles, damaging them and inhibiting future hair growth. However, the efficacy of at-home devices can vary based on factors such as the device’s technology, the user’s skin and hair type, and adherence to usage instructions.

The Pros and Cons

Pros

Convenience: One of the main advantages is the convenience of using these devices at home. Users can schedule sessions at their own pace, avoiding the need for salon appointments.
Cost-Effective: While professional laser treatments can be expensive, at-home devices are often a more economical option in the long run.

Cons

Effectiveness may vary: At-home devices may not be as powerful as those used in professional settings, potentially leading to less effective results.
Safety concerns: Without the expertise of a trained professional, there is a risk of misuse, which could result in skin damage or ineffective treatment.

Factors Influencing Effectiveness

Skin and Hair Type: At-home laser devices may not be suitable for all skin and hair types. Individuals with lighter skin and darker hair tend to experience better results.
Consistency: Success with at-home laser hair removal requires consistent and proper usage. Skipping sessions or not following guidelines can impact the effectiveness of the treatment.

Tips for Success

Choose the Right Device: Research and select an at-home laser hair removal device that is FDA-approved and suited for your skin and hair type.
Patch Test: Before full application, perform a patch test to ensure your skin reacts well to the device.
Follow Instructions: Adhere strictly to the manufacturer’s guidelines regarding treatment intervals and session duration.

FAQs

Does at-home laser hair removal really work?

Yes, at-home laser hair removal can be effective for many individuals. However, the results may vary based on factors such as skin type, hair color, and the specific device used. It’s crucial to choose a reputable, FDA-approved device and follow the instructions consistently for optimal results.

Is at-home laser hair removal safe?

At-home laser hair removal can be safe when used correctly. Always conduct a patch test before full application to ensure your skin reacts well. Follow the manufacturer’s guidelines closely, and be cautious with settings to prevent skin damage. If in doubt, consulting a dermatologist is advisable.

How long does it take to see results with at-home laser hair removal?

Patience is key with at-home laser hair removal. While some users may see a reduction in hair growth after a few sessions, significant results often take several weeks or months. Consistency is crucial, so adhere to the recommended treatment schedule for the best outcome.

Final Thought

In conclusion, at-home laser hair removal can work for some individuals, offering a convenient and cost-effective solution. However, it is essential to manage expectations and understand that results may vary. For those seeking optimal and safer outcomes, consulting with a professional for in-office laser hair removal remains a viable and reliable option.


Learn How To Wear A Thin Sports Headband For Guys

Sports headbands have become a popular accessory for both style and functionality, providing a practical solution to keeping sweat at bay during workouts while also adding a trendy touch to your athletic attire. Among the various types available, thin sports headbands for guys offer a sleek and minimalist look that complements a wide range of styles. In this guide, we’ll explore the steps on how to wear a thin sports headband for guys with comfort and flair.

A Guide on How to Wear a Thin Sports Headband for Guys

Step 1: Choose the Right Headband

Before delving into the wearing process, it’s essential to select a headband that suits your style and preferences. Opt for a thin sports headband made from moisture-wicking and breathable materials, ensuring it effectively absorbs sweat during intense workouts. Additionally, choose a color that complements your workout gear or personal style.

Step 2: Start with Clean Hair

For optimal comfort and hygiene, make sure your hair is clean before putting on the headband. This will prevent any oils or residues from affecting the headband’s grip and will also contribute to a more enjoyable workout experience.

Step 3: Adjust the Size

Thin sports headbands typically come in one-size-fits-all designs, but it’s important to adjust the band to your head size for a snug fit. Place the headband around your forehead and adjust it until it sits comfortably, ensuring it’s not too tight or too loose.

Step 4: Position on the Forehead

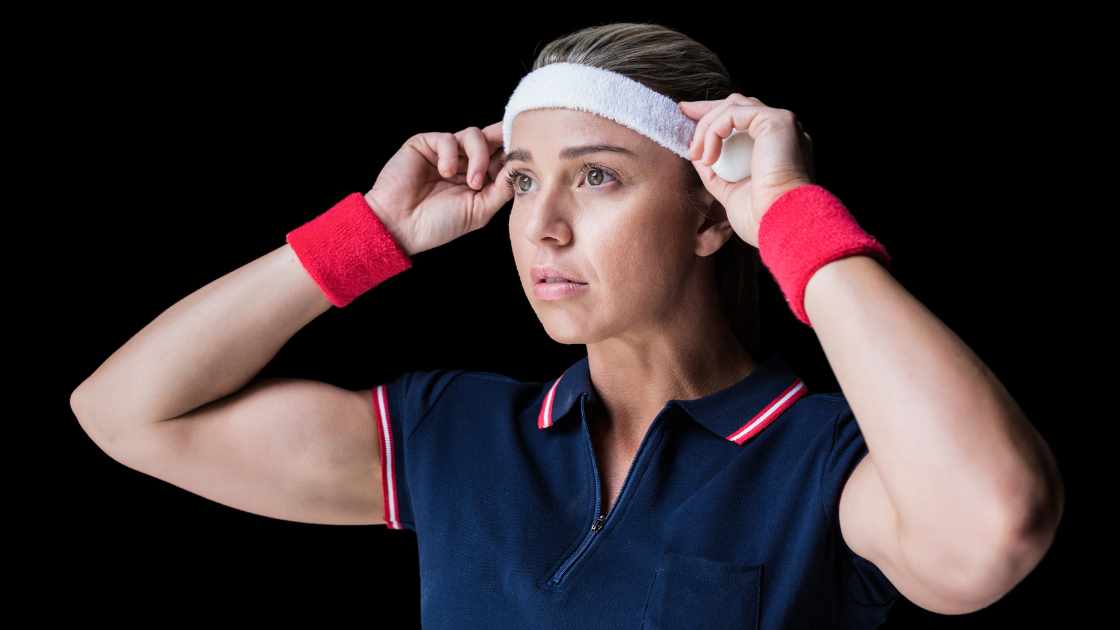
Position the thin sports headband along your forehead, just above your eyebrows. Ensure that the band is straight and lies flat against your skin to prevent discomfort during movement. The goal is to keep the headband secure without causing headaches or slipping during physical activity.

Step 5: Style According to Preference

While the primary purpose of a thin sports headband is functionality, you can also style it to suit your preferences. Some guys prefer a centered placement, while others may angle it slightly to one side for a more casual look. Experiment with different placements to find the style that complements your overall aesthetic.

Step 6: Combine with Other Accessories

Feel free to combine your thin sports headband with other workout accessories such as wristbands or athletic sunglasses to enhance your overall look. Coordinate colors and styles to create a cohesive and polished appearance.

FAQs

How do I choose the right thin sports headband for guys?

When selecting a thin sports headband for guys, consider the material and design. Opt for a headband made from moisture-wicking and breathable materials to effectively manage sweat during workouts. Ensure it fits comfortably around your head and choose a color that complements your workout gear or personal style. Look for bands with anti-slip features to keep them securely in place during physical activity.

What is the correct way to position a thin sports headband on the forehead?

To ensure optimal comfort and functionality, position the thin sports headband along your forehead, just above your eyebrows. Make sure it sits flat against your skin without being too tight or too loose. The goal is to keep it secure without causing discomfort or impeding your movements. Experiment with placement to find the style that suits you best – whether centered or slightly angled to one side.

Can I wear a thin sports headband with other workout accessories?

Yes, you can definitely combine a thin sports headband with other workout accessories to enhance your overall athletic style. Consider pairing it with wristbands or athletic sunglasses that coordinate in color and style. This combination not only adds a polished look to your workout attire but also provides practical benefits, such as keeping sweat off your face and ensuring you stay focused on your fitness routine.

Final Thought

Wearing a thin sports headband for guys is a simple yet effective way to elevate your athletic style while keeping sweat in check during intense workouts. By choosing the right headband, adjusting the size for a snug fit, and experimenting with different styles, you can confidently incorporate this accessory into your fitness routine. Stay comfortable, stylish, and focused on your workout with the perfect thin sports headband for your needs.


Learn How To Wear A Sport Headband

Sport headbands are not just a stylish accessory; they also serve a functional purpose by keeping sweat at bay and hair in place during physical activities. Whether you’re hitting the gym, going for a run, or engaging in a sports game, wearing a sport headband can enhance your performance and keep you looking sharp. In this guide, we’ll explore the steps on how to wear a sport headband with both style and functionality in mind.

A Guide to Wearing a Sport Headband: Style and Functionality

Choose the Right Headband

Before delving into the intricacies of wearing a sport headband, it’s essential to select the right one for your needs. Opt for headbands made from moisture-wicking materials, such as polyester or spandex, to effectively absorb sweat and keep you dry. Additionally, choose a headband that is wide enough to cover your forehead and stay securely in place during movement.

Step 1: Start with Clean, Dry Hair

Ensure that your hair is clean and dry before putting on the sport headband. This will prevent the headband from slipping during physical activities and provide a comfortable fit.

Step 2: Adjust the Size

Most sport headbands are designed to be stretchable, allowing them to accommodate various head sizes. Gently stretch the headband and place it over your head, ensuring a snug but not too tight fit. It should sit securely on your forehead without causing discomfort.

Step 3: Positioning on the Forehead

For optimal functionality, position the sport headband about one to two inches above your eyebrows. This placement helps absorb sweat before it reaches your eyes, keeping your vision clear during activities. Make sure the headband covers your entire forehead to catch sweat effectively.

Step 4: Secure Your Hair

If you have long hair, consider securing it before putting on the headband. A ponytail or bun can help keep your hair in place, preventing it from interfering with the headband’s effectiveness.

Step 5: Double Up for Intense Workouts

For more intense workouts or activities that involve a lot of movement, consider doubling up on headbands. This not only enhances the sweat-absorbing capability but also adds a stylish layered look.

Step 6: Coordinate with Your Outfit

While functionality is key, there’s no reason why you can’t look stylish while wearing a sport headband. Choose headbands that complement your workout attire or go for bold colors to add a pop to your ensemble.

FAQs

How should I choose the right sport headband for my activities?

When selecting a sport headband, opt for one made from moisture-wicking materials like polyester or spandex. Ensure it is wide enough to cover your forehead and securely stays in place during movement. This will help absorb sweat and provide comfort during your physical activities.

Can I wear a sport headband with any hairstyle?

Yes, you can wear a sport headband with various hairstyles. For optimal performance, it’s recommended to start with clean, dry hair and consider securing long hair with a ponytail or bun before putting on the headband. This ensures a snug fit and prevents interference during activities.

Is there a specific way to position the sport headband on my forehead?

Yes, for effective sweat absorption, position the sport headband about one to two inches above your eyebrows. This placement helps keep sweat from reaching your eyes during physical activities. Ensure the headband covers your entire forehead for optimal functionality and a comfortable fit.

Final Thought

Wearing a sport headband is a simple yet effective way to enhance your athletic performance and keep sweat at bay. By choosing the right headband, adjusting the fit, and following these steps, you can confidently sport this accessory while looking and feeling your best during any physical activity. So, whether you’re hitting the gym or hitting the pavement, put on your sport headband and let style and functionality go hand in hand.

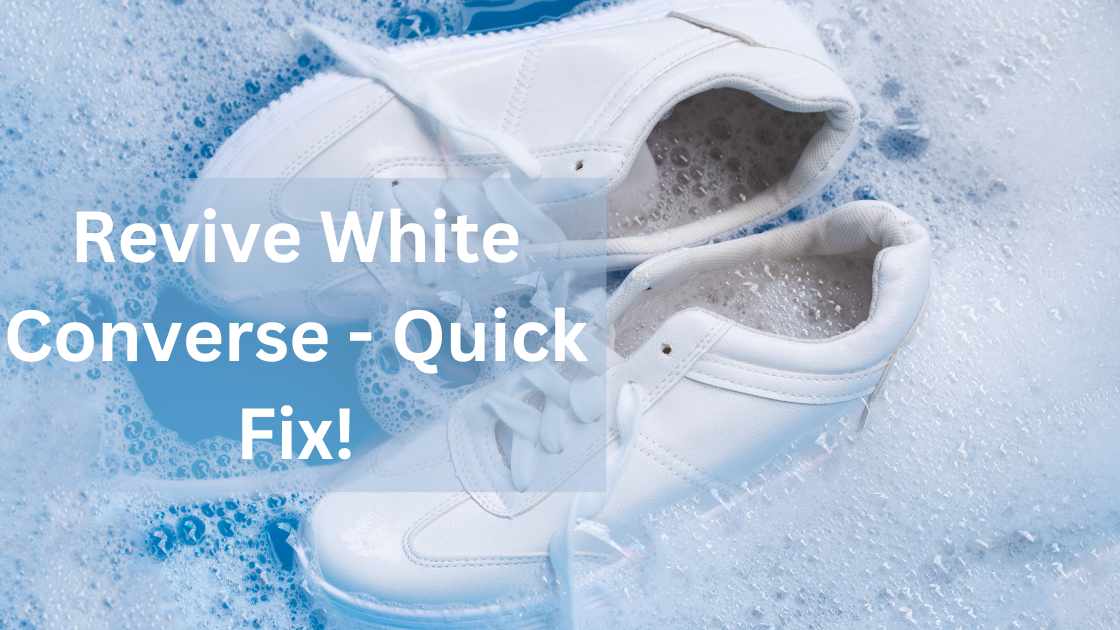
Learn How To Clean White Converse Shoes

White Converse shoes are a timeless classic, but maintaining their pristine appearance can be a challenge, especially when faced with inevitable dirt and stains. Fear not, as with the right techniques, you can keep your white Converse looking fresh and vibrant. In this article, we will provide you with a step-by-step guide on how to clean white Converse shoes effectively.

Keeping it Crisp: A Guide on How to Clean White Converse Shoes

Remove Laces and Insoles

Before diving into the cleaning process, remove the shoelaces and insoles from your Converse shoes. This will allow you to clean these components separately and ensure a more thorough cleaning for the entire shoe.

Brush Off Surface Dirt

Use a soft-bristle brush or an old toothbrush to gently brush off any loose dirt or debris from the surface of the shoes. This preliminary step helps prevent rubbing dirt into the fabric during the cleaning process.

Create a Cleaning Solution

Mix a small amount of mild detergent or liquid soap with warm water to create a soapy solution. Avoid using harsh chemicals, as they may damage the fabric or rubber of your Converse shoes.

Spot Clean Stains

Dip a soft cloth or the bristles of a toothbrush into the soapy solution, and gently scrub any visible stains or areas with discoloration. Focus on stained regions, such as scuff marks or mud spots, and work the cleaning solution into the fabric.

Clean Laces and Insoles

Soak the laces in the soapy solution or consider replacing them if they are heavily stained. Clean the insoles separately by gently scrubbing them with a brush or cloth. Allow both the laces and insoles to air dry completely before reattaching them to the shoes.

Machine Wash (optional)

If your Converse shoes are machine-washable, you can place them in a pillowcase or mesh laundry bag to protect them during the wash. Use a gentle cycle with cold water and avoid using bleach. Air dry the shoes afterward to maintain their integrity.

Whiten the Rubber Soles

For the rubber soles, create a paste using baking soda and water. Apply the paste to the rubber portions of the shoes, scrubbing gently with a brush. Allow it to sit for a few minutes before rinsing off the paste.

Air Dry Properly

After cleaning, allow your Converse shoes to air dry naturally. Avoid exposing them to direct sunlight or using artificial heat sources like hair dryers, as this can cause the fabric and rubber to deteriorate.

FAQs

Can I clean my white Converse shoes in a washing machine?

Yes, you can clean your white Converse shoes in a washing machine. Place them in a pillowcase or mesh laundry bag to protect them during the wash. Use a gentle cycle with cold water and avoid using bleach. Air dry the shoes afterward to maintain their integrity.

What’s the best way to remove stains from white Converse shoes?

For stain removal, create a soapy solution using mild detergent or liquid soap with warm water. Dip a soft cloth or toothbrush into the solution and gently scrub the stained areas. For rubber soles, a paste made from baking soda and water can be used to whiten and remove stains.

Is it necessary to remove the laces and insoles when cleaning white Converse shoes?

Yes, it’s recommended to remove the laces and insoles before cleaning white Converse shoes. This ensures a more thorough cleaning for the entire shoe. Clean the laces separately by soaking them in the soapy solution, and gently scrub the insoles to maintain the overall freshness of your sneakers.

Final Thought

With a bit of care and attention, you can keep your white Converse shoes looking as crisp and clean as the day you bought them. Regular cleaning, spot treatments for stains, and proper drying techniques will ensure that your iconic white sneakers remain a stylish and timeless accessory for any outfit. Keep these steps in mind, and your Converse shoes will continue to make a bold and fresh statement with every step.

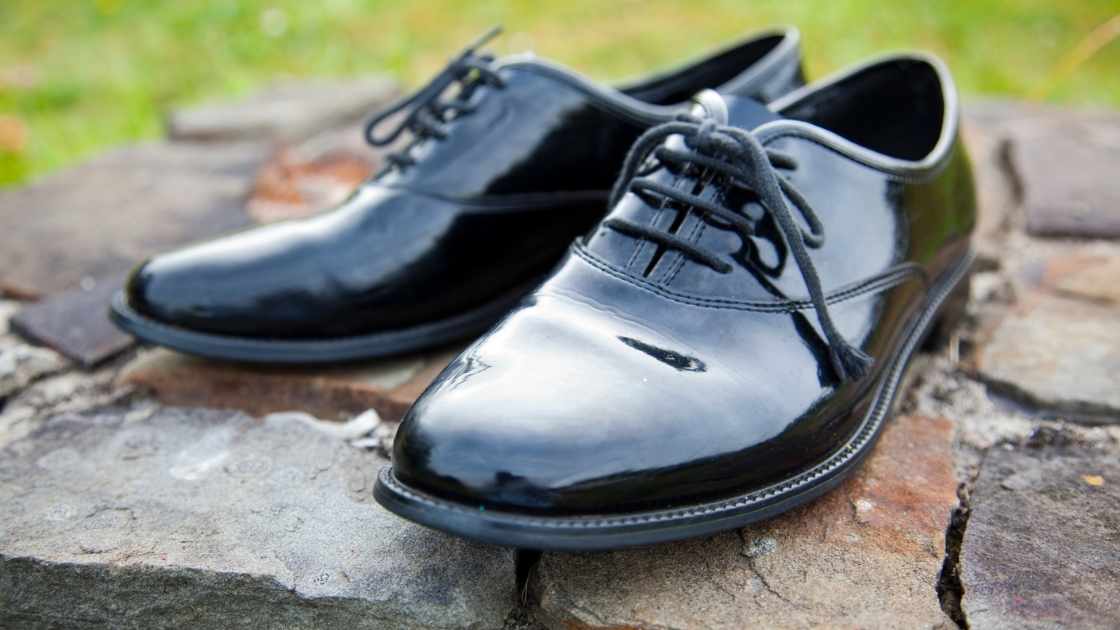
Learn How To Make Shiny Shoes Dull

While shiny shoes can be a stylish choice for formal occasions or a polished look, there are times when a matte finish is preferred for a more casual or rugged appearance. Whether you want to tone down the shine of new shoes or transform your glossy pair into a more laid-back style, this guide will walk you through the steps to make your shiny shoes dull.

Transforming Shine to Matte: A Guide on How to Make Shiny Shoes Dull

Materials Needed

Soft cloth or sponge
Mild soap or leather cleaner
Fine-grit sandpaper or emery board
Leather conditioner
Matte shoe polish or cream

Step 1: Clean the Shoes

Start by cleaning your shiny shoes thoroughly to remove any dirt, dust, or existing polish. Use a soft cloth or sponge dampened with mild soap or a suitable leather cleaner. Gently wipe the entire surface of the shoes, paying attention to seams and crevices.

Step 2: Lightly Sand the Surface

To dull the shine, use fine-grit sandpaper or an emery board. Lightly sand the entire surface of the shoes, focusing on areas with the most shine. Be gentle and use a circular motion to avoid damaging the material. This process will help break down the top layer of polish or finish, creating a more matte appearance.

Step 3: Condition the Leather

After sanding, apply a quality leather conditioner to moisturize and nourish the leather. This step is crucial to prevent the material from becoming dry or damaged during the dulling process. Follow the instructions on the conditioner, allowing it to be absorbed into the leather for optimal results.

Step 4: Apply Matte Shoe Polish or Cream

To achieve a matte finish, invest in a matte-specific shoe polish or cream. Apply a small amount to a soft cloth or applicator and rub it onto the shoes in a circular motion. Ensure an even application across the entire surface. Matte polishes typically contain less wax than their glossy counterparts, contributing to the desired dull effect.

Step 5: Buff for a Finished Look

After applying the matte polish, allow it to dry according to the product instructions. Once dry, use a clean, dry cloth to gently buff the shoes. This will remove any excess polish and enhance the matte finish.

FAQs

Can I make my shiny shoes dull without damaging them?

Yes, you can safely make your shiny shoes dull by following a careful process. Begin by cleaning the shoes with a soft cloth and mild soap. Use fine-grit sandpaper or an emery board to lightly sand the surface, focusing on glossy areas. After sanding, apply a leather conditioner to prevent dryness. Finally, use a matte shoe polish or cream for a subdued finish. Be gentle throughout the process to avoid damaging the material.

What materials do I need to make my shiny shoes dull?

To make your shiny shoes dull, you will need a soft cloth or sponge, mild soap or leather cleaner, fine-grit sandpaper or an emery board, leather conditioner, and matte shoe polish or cream. These materials will help you clean, gently sand, moisturize, and finish your shoes with a matte effect.

Can I use regular shoe polish to achieve a matte finish?

While regular shoe polish can add shine, it may not provide the matte finish you desire. To make your shoes dull, opt for a matte-specific shoe polish or cream. These products are formulated with fewer waxes, resulting in a matte appearance. Applying a matte polish ensures that you achieve the desired effect without compromising the overall quality and appearance of your shoes.

Final Thought

Transforming shiny shoes into a dull matte finish is a straightforward process that can give your footwear a more relaxed and versatile look. With a few simple steps and the right materials, you can achieve the desired effect while keeping your shoes in great condition. Experiment with different levels of shine to find the perfect matte finish for your style preferences.


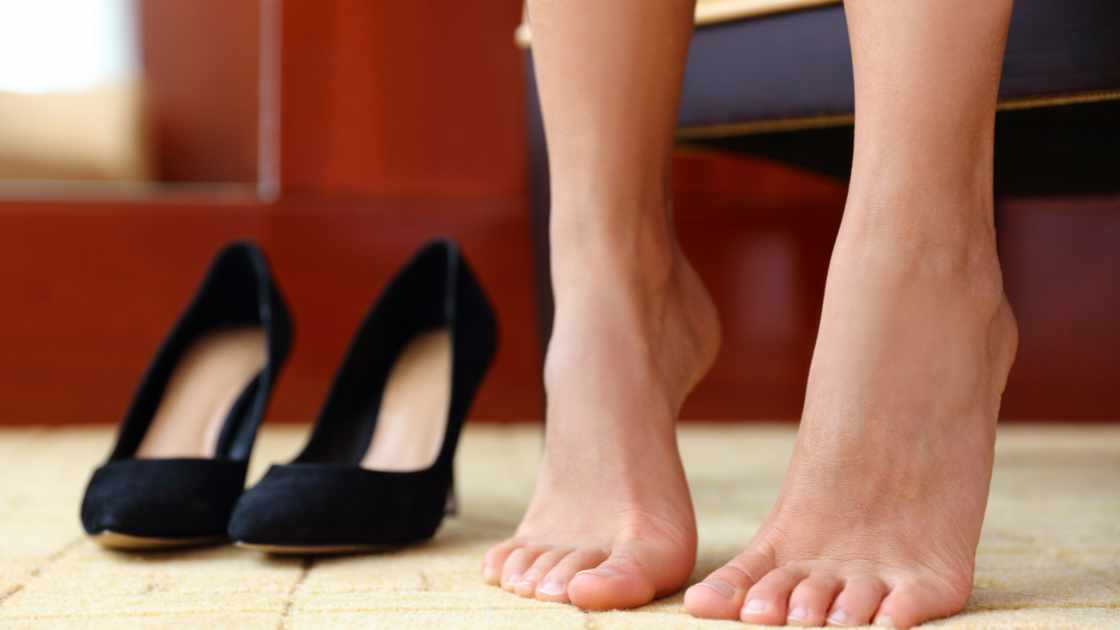
Learn How Long To Wait After Pedicure To Wear Shoes

After a relaxing pedicure, the last thing you want to do is smudge your freshly painted toenails by putting on shoes too soon. Patience is key to maintaining the pristine appearance of your pedicure. In this article, we’ll delve into how long you should wait after a pedicure before slipping on your favorite pair of shoes.

Timing Matters: How Long to Wait After a Pedicure to Wear Shoes

The General Rule

As a general guideline, it’s advisable to wait at least 2 hours after a pedicure before putting on closed-toe shoes. This timeframe allows ample time for the nail polish to dry and harden, reducing the risk of smudging or denting the freshly painted nails.

Factors Affecting Drying Time

Type of Nail Polish

Traditional nail polishes typically take longer to dry compared to quick-dry or gel polishes. Adjust your wait time accordingly based on the type of polish used during your pedicure.

Application Technique

Thin, even coats of nail polish tend to dry faster than thick, gloopy layers. If multiple coats were applied, consider giving each layer enough time to dry before applying the next.

Topcoat Usage

Applying a clear topcoat can expedite the drying process and provide an extra layer of protection against smudges. If a topcoat was used, it might reduce the overall waiting time.

Tips to Speed Up Drying

While waiting is essential, you can take a few measures to speed up the drying process:

Use a Fan or Blow Dryer

Gentle air circulation can help dry your nail polish faster. Use a fan or set a blow dryer on the lowest, cool setting and aim it at your toes for a few minutes.

Dip Nails in Cold Water

After about 15-20 minutes of initial drying, dip your painted toenails in cold water for a few minutes. The cool temperature can harden the polish.

Quick-Dry Sprays or Drops

Consider using quick-dry sprays or drops designed to accelerate the drying process. Follow the product instructions for optimal results.

FAQs

How long should I wait after a pedicure before wearing closed-toe shoes?

It’s generally recommended to wait at least 2 hours after a pedicure before putting on closed-toe shoes. This allows sufficient time for the nail polish to dry and harden, reducing the risk of smudging or denting.


Can I expedite the drying process after a pedicure?

Yes, you can speed up the drying process by using a fan or blow dryer on a low, cool setting, dipping your painted toes in cold water after the initial drying period, or using quick-dry sprays or drops designed for nail polish.


Does the type of nail polish affect the waiting time after a pedicure?

Yes, the type of nail polish matters. Traditional polishes generally take longer to dry compared to quick-dry or gel polishes. Adjust your waiting time based on the specific type of polish used during your pedicure.

Final Thought

While the anticipation of showcasing your newly pedicured toes in stylish shoes is understandable, waiting is crucial to ensure your nail polish sets properly. By adhering to the general rule of waiting at least 2 hours and considering the factors influencing drying time, you can confidently put on your shoes without the fear of compromising your perfectly polished pedicure. Remember, a little patience goes a long way in maintaining the beauty of your freshly painted toenails.


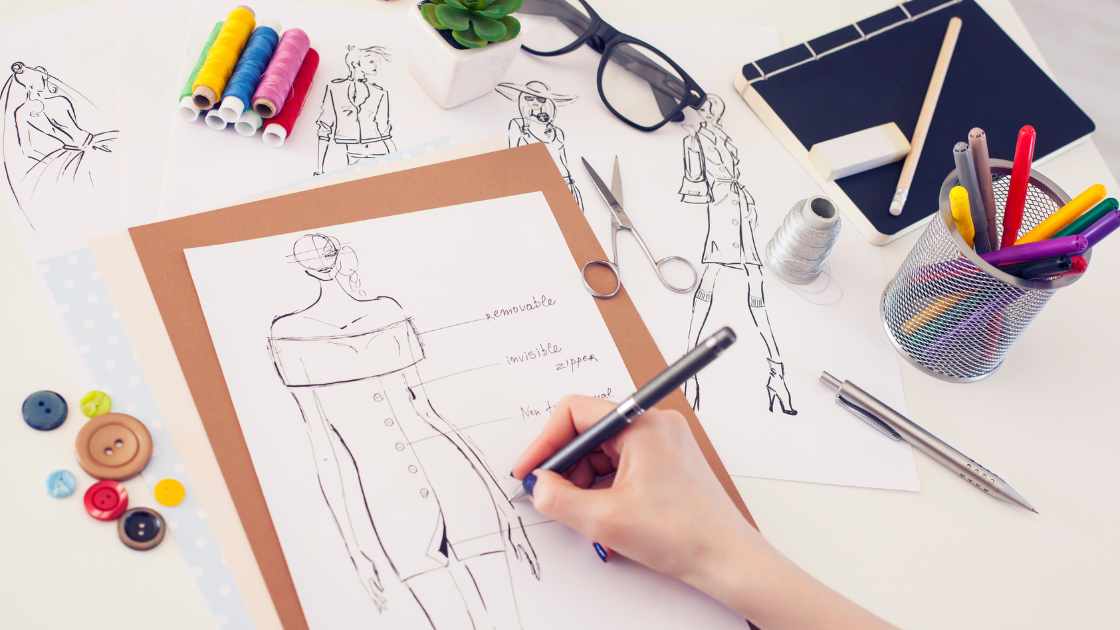
How To Do Fashion Sketches

Fashion sketches are the cornerstone of the creative process in the fashion industry. They serve as a visual representation of a designer’s ideas and concepts, capturing the essence of a garment before it comes to life. Whether you’re an aspiring fashion designer, a student in a design program, or simply passionate about fashion, learning how to create compelling fashion sketches is an essential skill to possess. In this article, we’ll provide you with a comprehensive and informative guide on how to do fashion sketches.

Mastering the Art of Fashion Sketches

Gather Your Supplies

Before you begin, it’s crucial to gather all the necessary supplies. Invest in good quality pencils (ranging from 2H to 6B) and sketching paper. You might also want to have colored pencils, markers, and charcoal handy for experimenting with different styles and techniques.

Study Anatomy and Proportions

Understanding human anatomy and proportions is fundamental to creating realistic fashion sketches. Study the human body, focusing on proportions, body shapes, and the way fabric drapes over different body types. This knowledge will help you draw figures that look natural and elegant.

Start with Basic Shapes

Begin your fashion sketch with simple geometric shapes to outline the body’s proportions. Use circles for the head, ovals for the torso, and cylinders for limbs. These basic shapes serve as a foundation for building the figure and make it easier to maintain proper proportions.

Draw the Fashion Croquis

A croquis is a simplified, elongated figure used as a base for sketching garments. Create your croquis by elongating the body’s proportions, making it around 9 to 10 heads tall. This elongation allows for a more elegant and stylized representation of the human form, commonly used in fashion sketches.

Add Details and Garments

Once you have your croquis, start adding details and clothing elements. Pay attention to the flow and movement of fabric. Experiment with different styles, silhouettes, and textures. Don’t be afraid to let your creativity shine; fashion sketches are a perfect medium for expressing your unique style and ideas.

Focus on Facial Expressions and Postures

While fashion sketches primarily emphasize clothing, adding facial expressions and postures can enhance the overall storytelling in your designs. Practice drawing different facial expressions and body postures to convey various moods and attitudes in your sketches.

Practice Regularly and Seek Inspiration

Like any other skill, mastering fashion sketches takes practice. Set aside time regularly to sketch and experiment with different techniques. Additionally, seek inspiration from fashion magazines, runway shows, and other artists. Analyze their work, understand their techniques, and incorporate what you learn into your sketches.

Embrace Digital Tools

In today’s digital age, many fashion designers use digital tools and software to create sketches. Programs like Adobe Illustrator and Procreate offer various features and tools to enhance your digital sketching experience. Familiarize yourself with these tools to stay relevant in the ever-evolving fashion industry.

FAQ’s

How can I improve my fashion sketching skills as a beginner?

As a beginner in fashion sketching, it’s essential to start with the basics. Begin by learning human anatomy and proportions, which will help you draw realistic and well-proportioned figures. Practice drawing basic shapes and then move on to creating fashion croquis, the elongated figures used as a base for your designs. Experiment with different styles, textures, and garment details. Don’t be afraid to make mistakes; learning from them is a crucial part of the process. Additionally, seek feedback from experienced artists and designers, and consider enrolling in fashion sketching classes or watching online tutorials to enhance your skills further.

What materials do I need to start fashion sketching?

To start fashion sketching, you’ll need a few essential materials. Invest in good quality sketching pencils ranging from 2H to 6B to allow for various line weights and shading effects. Sketching paper with a smooth surface is ideal for fashion sketches. You might also want to explore colored pencils, markers, charcoal, and watercolors for experimenting with different colors and textures. A good eraser and a sharpener are also necessary tools to keep your sketches clean and precise. As you progress, you can explore digital tools and software like tablets with stylus pens and fashion design software, but starting with traditional materials will help you grasp the fundamental techniques.

How can I add creativity and originality to my fashion sketches?

Adding creativity and originality to your fashion sketches is essential to stand out as a designer. One way to achieve this is by observing the world around you and incorporating diverse elements into your designs. Experiment with different art styles and techniques, such as cross-hatching, stippling, or using unconventional materials like fabric scraps and beads to add texture to your sketches. Study fashion trends, but also draw inspiration from history, nature, art, and various cultures. Keep a sketchbook to jot down your ideas, doodles, and observations. Embrace your unique perspective and experiences, allowing them to influence your designs, and don’t be afraid to take risks and explore unconventional concepts in your sketches. Remember, your creativity is your biggest asset in the world of fashion sketching.

Final thought

Mastering the art of fashion sketches requires dedication, practice, and a keen eye for detail. By understanding the fundamentals of anatomy, proportions, and garment design, and by regularly practicing your skills, you can create stunning and expressive fashion sketches. Remember to stay inspired, experiment with different styles, and most importantly, let your creativity flow. With determination and passion, you can develop your unique signature style and make a mark in the exciting world of fashion design.

How to Wash Purple Jeans: Keeping Your Vibrant Denim Looking Fresh

Purple jeans are a bold fashion choice that can make you stand out in a crowd. However, maintaining the vibrancy and color integrity of your purple jeans requires proper care during washing. Fear not, for we’ve got you covered with a comprehensive guide on how to wash purple jeans while ensuring they remain as captivating as the day you first wore them.

There are 8 Steps of Ways to  Washing Purple Jeans

Sorting for Success: Separating Purple Jeans from Other Clothing

Before you even think about starting the washing process, take a moment to sort your laundry. Keep your purple jeans separate from other garments, especially those with light colors or fabrics that bleed dye. This will prevent color transfer and protect your purple jeans from potential damage.

Inside Out: The First Step to Color Protection

Turning your purple jeans inside out might seem like a small step, but it can have a significant impact. By doing so, you reduce the direct exposure of the outer fabric to the washing machine’s agitating action, helping to preserve the color. This precautionary measure minimizes friction between the denim and other items, which can prevent color fading and keep your jeans looking vibrant.

Choose the Right Detergent: Gentle is Key

When it comes to washing purple jeans, opt for a mild, color-safe detergent. Harsh detergents can strip away the dye and cause fading over time. Look for detergents specifically labeled for dark or colored clothing, as these are formulated to retain the intensity of colors. Additionally, avoid using bleach, as it can cause irreversible damage to the dye molecules.

Cold Water Champions: Washing in Low Temperatures

Hot water might be ideal for certain fabrics, but it’s not your purple jeans’ best friend. Wash your jeans in cold water to prevent the dye from bleeding and fading. Cold water also helps retain the elasticity of the fabric, ensuring your jeans maintain their shape and fit wash after wash.

Gentle Cycle: Treating Purple Jeans with Care

When choosing a washing machine cycle, opt for the gentle or delicate setting. These cycles involve less agitation, reducing the risk of color loss and fabric damage. If your jeans aren’t too soiled, a shorter cycle can also help minimize wear and tear while maintaining their vibrant hue.

Less is More: Avoid Overloading the Machine

Resist the urge to cram too many clothes into the washing machine. Overloading can cause excessive friction, potentially leading to color fading and uneven cleaning. Give your purple jeans some breathing room, allowing them to move freely in the wash and preventing unnecessary stress on the fabric.

Skip the Dryer: Air Drying for Color Perfection

When it’s time to dry your purple jeans, avoid the dryer. High heat can cause colors to fade and weaken the fabric fibers. Instead, hang your jeans to air dry in a shaded area. Hanging them upside down can help maintain their shape and prevent stretching around the waistband. Direct sunlight should also be avoided, as it can lead to color bleaching over time.

Minimal Washing: The Key to Long-lasting Color

Remember, purple jeans don’t need to be washed after every wear. In fact, excessive washing can contribute to color fading and fabric degradation. Spot cleaning and airing out your jeans between washes can help maintain their vibrant appearance for longer.

FAQs

Can I wash my purple jeans with other colored clothing?

It’s generally recommended to wash your purple jeans separately from other colored clothing, especially those with light or delicate fabrics. Purple jeans, like any vibrant dyed clothing, can potentially bleed dye during the washing process, which could stain other garments. To prevent color transfer and ensure the longevity of your purple jeans’ color, it’s best to wash them separately or with similar dark-colored items.

Can I use regular detergent to wash my purple jeans?

While you can use regular detergent to wash your purple jeans, it’s advisable to opt for a mild, color-safe detergent. Regular detergents, especially those containing harsh chemicals or bleach, can cause fading and damage to the dye molecules over time. Look for detergents specifically formulated for dark or colored clothing, as these are designed to maintain the vibrancy of colors while being gentler on the fabric.

Is it safe to machine dry my purple jeans?

It’s generally not recommended to machine dry purple jeans or any other colored garments. High heat from the dryer can lead to color fading and weaken the fabric fibers, affecting both the color intensity and the overall quality of the denim. Instead, after washing, opt for air drying your purple jeans. Hang them in a shaded area or indoors, avoiding direct sunlight, to preserve the color and ensure the fabric remains in good condition. Hanging your jeans upside down can also help maintain their shape during the drying process.

Conclusion

Owning a pair of stunning purple jeans can be a fashion statement, but it also comes with the responsibility of proper care. By following these steps, you’ll be able to wash your purple jeans while preserving their vivid color and captivating allure. Treat your purple jeans with care, and they’ll reward you with countless stylish outings to come.